
Last updated November 18, 2026








Free written scope consultation - allowances, timeline, and change-order rules on paper before a single trade is scheduled
Bathroom Remodeling Troubleshooting: Common Problems and How to Fix Them
Tile that cracks within two years of installation almost never fails because of the tile itself. It fails because of what happened to the substrate underneath it, and by the time you see the crack, the fix is bigger than you want it to be. We’ve walked into bathrooms across Sunrise Manor where a homeowner paid good money for new floor tile, only to watch it tent and pop eighteen months later because the previous installer laid it over a subfloor that flexed every time someone stepped out of the shower. The visible failure was the last chapter of a story that started long before.
This guide covers both kinds of bathroom remodeling problems: the ones a previous contractor hid behind new tile, and the ones a current contractor creates by sequencing work wrong. You’ll learn how to tell a surface failure from a substrate failure, how to trace moisture to its real source, why your new showerhead dribbles after a remodel, and where the inspection failures actually happen in Sunrise Manor bathrooms. We’re not going to tell you to grab a pry bar. We’re going to tell you what to look at, what to ask, and when to call someone.
Quick Answer
Most bathroom remodeling problems trace back to one of three root causes: a substrate that wasn’t built to spec before tile went down, moisture that was never given a path to escape, or rough-in work done in the wrong order so the finished fixtures can’t perform. The fix depends on which one you’re dealing with, and figuring that out before you demo anything saves thousands. If you’re in Sunrise Manor and your remodel is only a couple of years old, an honest inspection is cheaper than a tear-out, so start there.
Styles & brands we work with
- Kitchen remodeling
- Bathroom remodeling
- Home additions & ADU
- Roofing
- Windows & doors
- Driveway & pavers
- Fence
Table of Contents
- Cracked tile and grout failure: finding the real cause before you retile
- Persistent moisture and mold: tracing the source instead of treating the symptom
- Water pressure and flow problems after a remodel
- Electrical issues in remodeled bathrooms: GFCI and exhaust fan wiring
- When a problem requires opening the wall, and when it doesn’t
- The sequencing mistakes that cause future problems
- Common mistakes to avoid
- When to call a professional
Cracked Tile and Grout Failure: Finding the Real Cause Before You Retile
Grout cracks that follow a straight line, like a seam, usually point to a joint that wasn’t given room to move. Cracks that spiderweb outward from a corner or run in a wandering pattern almost always point down, to the substrate. In our experience across Sunrise Manor, roughly nine out of ten tile failures we’re called to look at started underneath the tile, not with the tile itself.
Here’s the distinction worth memorizing before anyone quotes you a retile:
- Surface cause: grout mixed too dry, grout that cured too fast in a hot dry room, or a thin-set that wasn’t keyed into the backer. You see isolated grout crumbling, tile still bonded tight. Repairable without full demo.
- Substrate cause: a subfloor that deflects underfoot, cement backer board installed without mortar underneath it, or tile set directly over greenboard. You’ll see hollow-sounding tiles, cracks at the seams, and grout that keeps re-cracking after each repair.
The hollow-sound test tells you more than anything else: tap tile with the handle of a screwdriver, listening for a dull thud versus a crisp click. Dull spots near a seam mean the tile has lost bond to the substrate. In Sunrise Manor, we also watch for uncured concrete in new slab pours, because tile laid too early over concrete that’s still curing will crack as it shrinks. That’s a timing failure, not a material failure.
Bottom line: if you retile over a failing substrate, you’ll be back in the same spot in two years. Diagnose the substrate first, then talk tile.
Persistent Moisture and Mold: Tracing the Source Instead of Treating the Symptom
The mold you see on caulk is the mold you can clean. The mold you don’t see is the one that matters, and it almost always traces to one of three sources: a pan liner that was installed with the weep holes clogged, a missing vapor barrier behind the shower wall, or a bathroom exhaust fan that doesn’t move enough air. Bleach and scrubbing will hide all three for a while. None of the three fixes itself.
- Check the exhaust fan first. It’s the cheapest test. Hold a tissue to the grille while the fan runs; if the tissue doesn’t stick, the fan is moving almost nothing. In Sunrise Manor, where summer humidity is low but bathrooms still generate serious moisture from long showers, a fan rated under 80 CFM in a standard hall bath is underpowered.
- Look for water staining below the shower pan. Pull the access panel or look at the ceiling of the room below. Rusty nail heads or a water ring on the drywall means the pan liner or the drain seal is failing.
- Check the grout and caulk at the wall-to-floor joint. Caulk that peels repeatedly in the same spot is water pushing from behind, not from the top.
- Look at the vapor barrier during any wall opening. If you’re already opening the wall for another reason, confirm there’s a proper moisture barrier behind the cement board. If there isn’t, that’s your source.
Treat the source, then the mold. Cleaning first and diagnosing second is how a small liner problem becomes a full tear-out.
Water Pressure and Flow Problems After a Remodel
New showerhead, new faucet, new trim kit, and the water trickles. We hear this on a surprising number of calls around Sunrise Manor, and it’s almost always one of a handful of rough-in mistakes, not a fixture defect. A licensed plumber can usually diagnose it in an hour without opening a finished wall, which is the good news.
The usual suspects:
- Debris in the cartridge or aerator. Solder, pipe dope, or mineral grit from the water line gets pushed into a new cartridge during pressure testing. Pulling and flushing the cartridge solves it. This is the most common cause and the easiest fix.
- A shutoff valve left partially closed. Happens more than you’d think after a remodel; a valve under the sink or in the wall cavity gets turned down during work and never fully reopened.
- A pressure-balance valve installed backward. The anti-scald valve that’s required by code in most new shower installs is directional. Installed backward, it chokes flow on the hot side.
- Oversized pipe reductions in a relocated fixture. Moving a showerhead to the opposite wall during a remodel means new pipe, and if the run adds too many elbows or reduces diameter, you lose pressure.
What you can check yourself: the aerator on any faucet, and the showerhead itself (unscrew it, look for grit). What you should hand to a licensed plumber: anything behind the wall, and anything involving the pressure-balance valve. Getting the valve wrong is both a performance problem and a scald risk.
Electrical Issues in Remodeled Bathrooms: GFCI and Exhaust Fan Wiring
GFCI placement and exhaust fan wiring are the two most commonly failed inspection points in remodeled bathrooms. If a previous contractor skipped the permit, you may be living with the same failures without knowing it, and they’re worth checking even on a bathroom that’s been “done” for five years. The permit inspector works for you, not for the contractor, which is why a proper inspection matters so much.
What to look for in an existing remodel:
- Every bathroom receptacle should be GFCI-protected, including the one next to the vanity and any receptacle inside a cabinet. Test each one monthly with the test button. If pressing test doesn’t cut power, the device is faulty or it’s not actually a GFCI.
- The exhaust fan should be on its own switch, and in a bathroom with a tub or shower, most jurisdictions require it. A fan wired into the light circuit means it only runs when the light is on, which is not how it’s supposed to work.
- No receptacles inside the shower or tub zone. Clearances are strict; if you see an outlet mounted in a spot that would get splashed, that’s a problem.
- Look for ungrounded receptacles (the two-prong, no-ground type) in a bathroom. On a remodeled bath, that’s a red flag the electrical work was never brought up to current code.
Electrical work in a wet room is not a DIY project. Even if you’re comfortable changing a switch, diagnosing a bathroom circuit means working in a wet location with code requirements that have changed more than once in the last fifteen years. A licensed electrician signs off on it, and that signature is what protects you at resale.
When a Problem Requires Opening the Wall, and When It Doesn’t
Nobody wants a hole in a finished bathroom. The good news: most troubleshooting calls end without demo. The rule of thumb we use on every call is whether the problem is at a fixture, at a drain, or at the substrate. Fixture problems usually don’t need the wall open. Substrate and drain-line problems usually do.
You can diagnose without opening the wall if the symptom is:
- Low pressure at a single fixture (cartridge, aerator, or valve)
- A GFCI that won’t reset (device replacement, no wall opening needed)
- A leak visible at a drain fitting or at the shower valve trim (often resealable from the finished side or through an access panel)
You likely need the wall open if the symptom is:
- Persistent water staining at the ceiling below or the wall behind the shower
- Cracks that keep re-cracking after two rounds of grout repair
- Hollow tile across a large area, meaning lost bond to substrate
- A missing or failed vapor barrier confirmed behind a wall
When demo is coming, plan it before it happens: get the scope in writing, agree on the patch-and-repaint allowance, and know what’s being inspected. An allowance that isn’t on paper is a surprise waiting for a date.
The Sequencing Mistakes That Cause Future Problems
Every problem in this guide can be prevented by doing the work in the right order. The trouble is that the right order is not the fast order, and a contractor in a hurry will race to get drywall up before the inspections that would have caught a problem. Here’s the sequence that holds up in a Sunrise Manor bathroom, and what goes wrong if you skip a step.
- Rough-in plumbing and electrical first, with the walls still open and permits pulled. Skipping this means the pressure-balance valve and GFCI placement can’t be inspected.
- Rough-in inspection signed before any wall closes. Once drywall is up, the inspection becomes a negotiation instead of a sign-off.
- Subfloor prep, pan liner, weep hole protection, and vapor barrier in the wet zone. Liner installed without protecting the weep holes is the source of half the moisture problems we’re called to.
- Flood test on the shower pan before tile. Fill the pan and let it sit overnight; a slow drain is a free diagnosis you can’t get later.
- Backer board with proper thin-set and fastening schedule, then tile. Skipping the thin-set under backer board is the fastest way to hollow tile.
- Final inspections, then trim, then caulk. Confirm every device is on the final inspection sheet before the last coat of paint goes on.
That order adds a week to two to a bathroom timeline. What it prevents is a two-year retile.
If you’re planning more than a bathroom, the same sequencing discipline applies to a home addition or ADU in Sunrise Manor, where the stakes of getting the order wrong are even higher.
Common Mistakes to Avoid
- Retiling over a failing substrate. If the cracks point to deflection or a backer that wasn’t thin-set down, new tile buys you two years, not fifteen. Diagnose the substrate before you buy the tile.
- Cleaning mold without finding the source. Bleach on visible mold is a surface fix for a moisture problem that will come right back, especially in a Sunrise Manor bathroom with an undersized exhaust fan.
- Skipping the flood test on a new shower pan. An overnight fill costs nothing and diagnoses a failing liner before tile hides it. Skipping it costs the whole shower.
- Assuming the fixture is defective when the pressure is low. New showerheads that trickle are almost always a cartridge or valve issue, not a bad product. Check the cheap causes before you return the fixture.
- Letting a remodel proceed past rough-in without an inspection. Once the wall closes, the inspection becomes a negotiation. The permit inspector works for you, not for the contractor; make sure that inspection happens.
- Treating a GFCI that won’t reset as a dead bathroom. It’s usually a device, not the wiring; a licensed electrician can confirm in under an hour, and it’s not the kind of thing to guess at.
- Skipping the written allowance on paint and drywall repair. On any wall-opening repair, drywall and paint always run over. If it’s not on the scope in writing, you’ll be surprised at the invoice.
See the difference
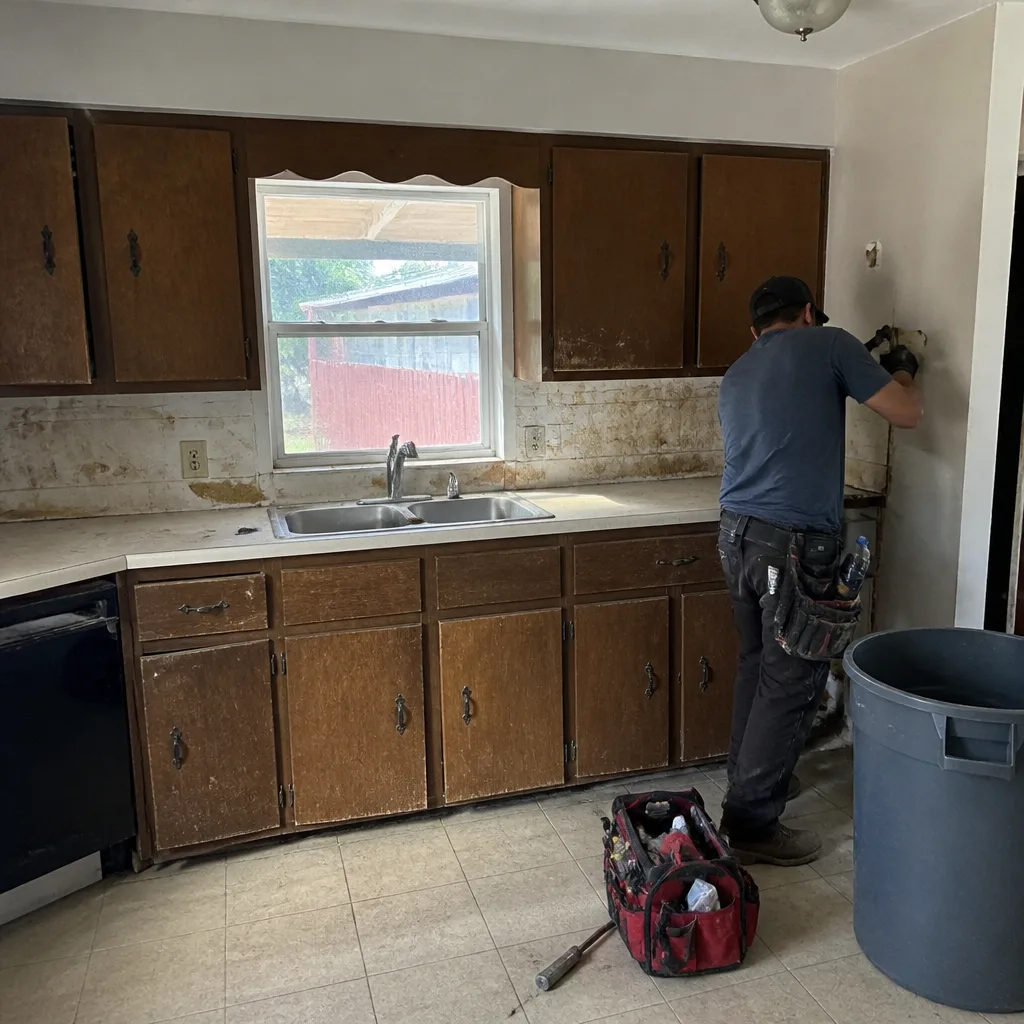 Before
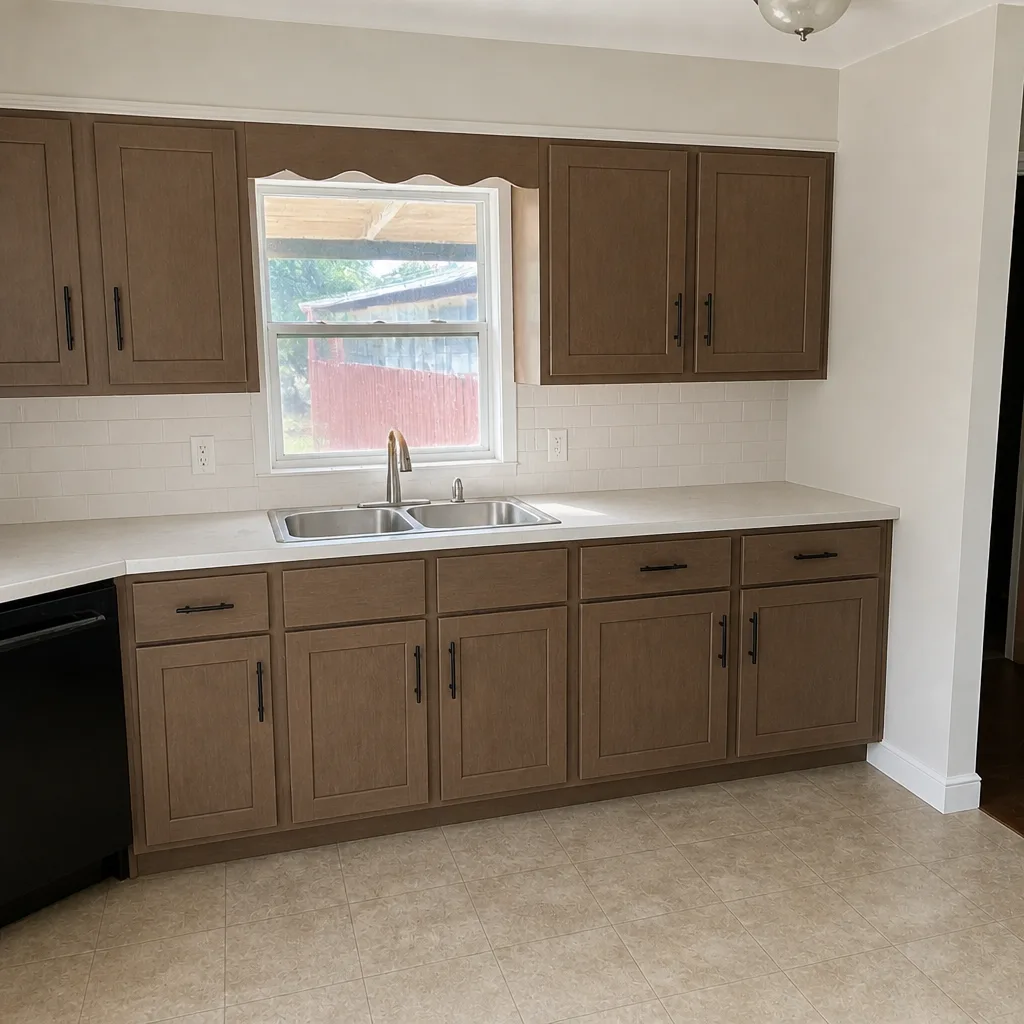 After
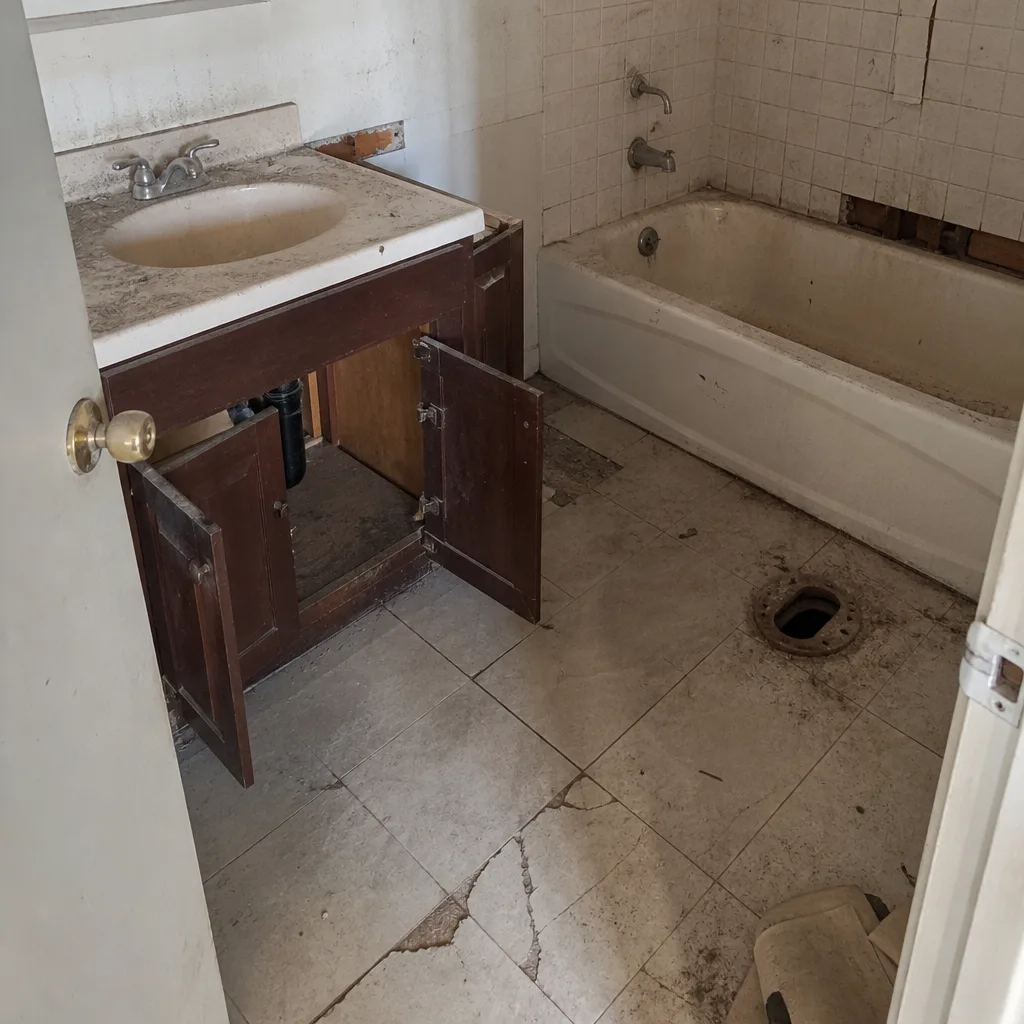 Before
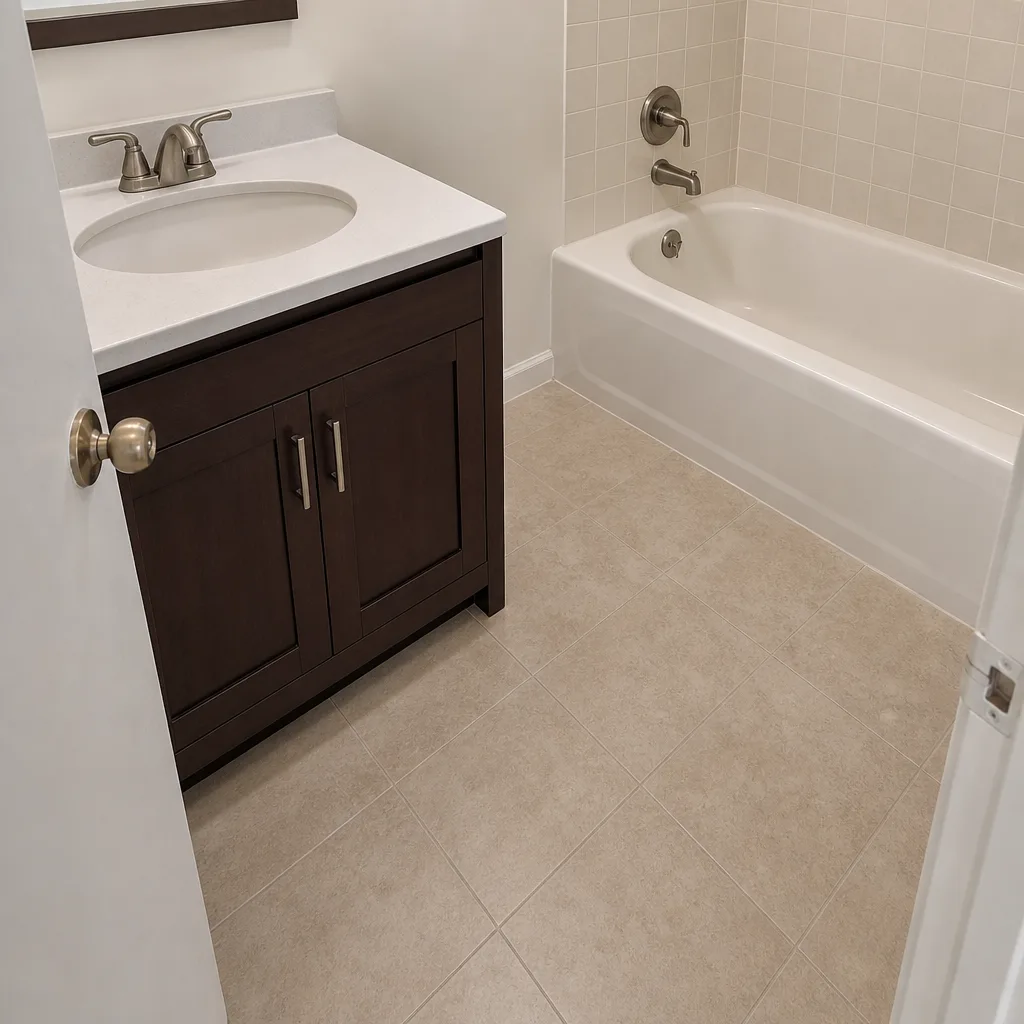 After
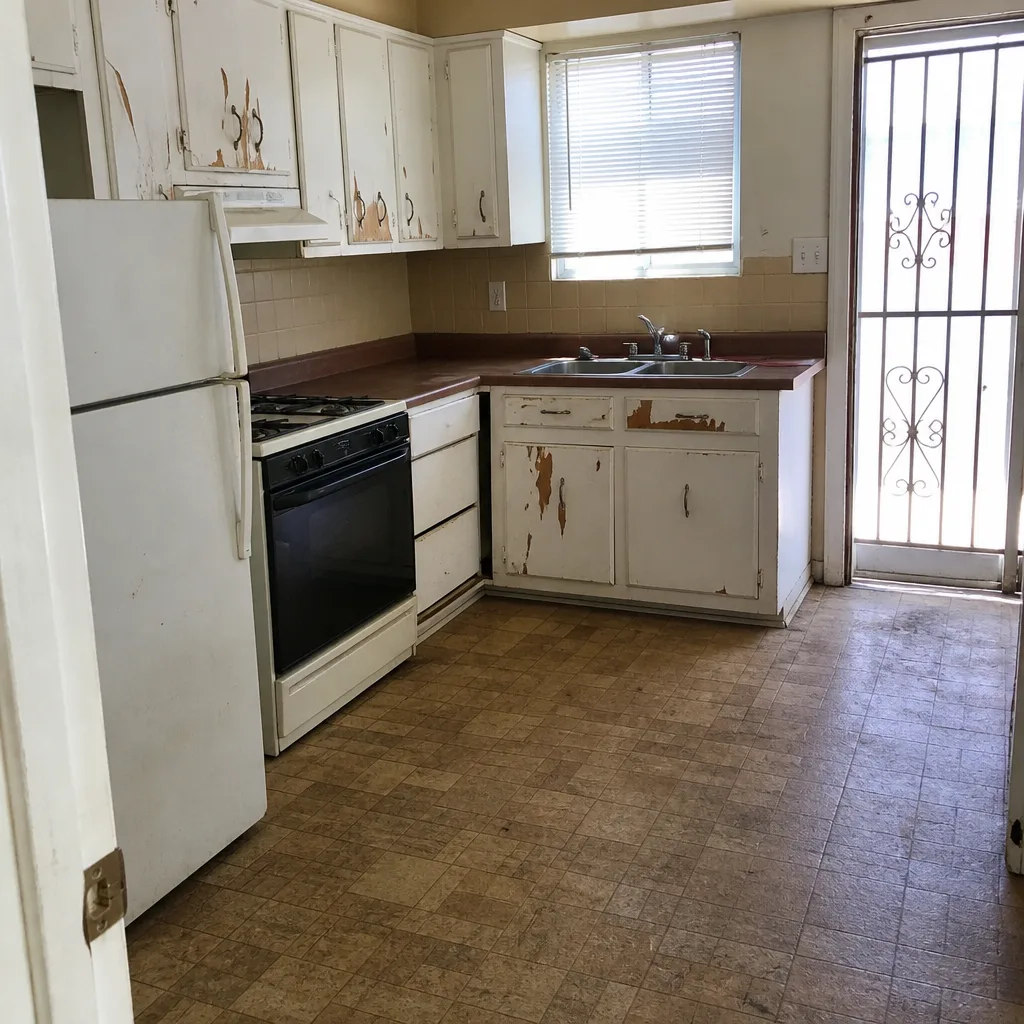 Before
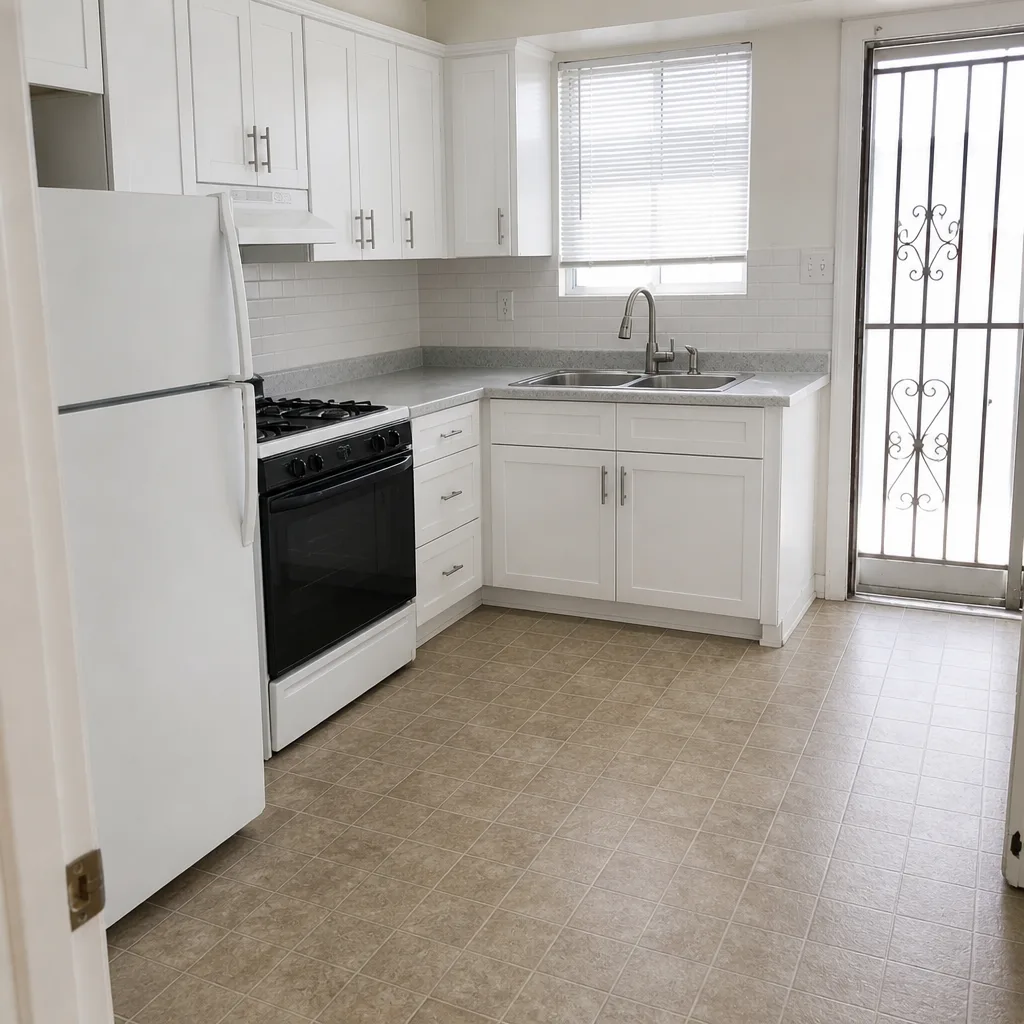 After
When to Call a Professional
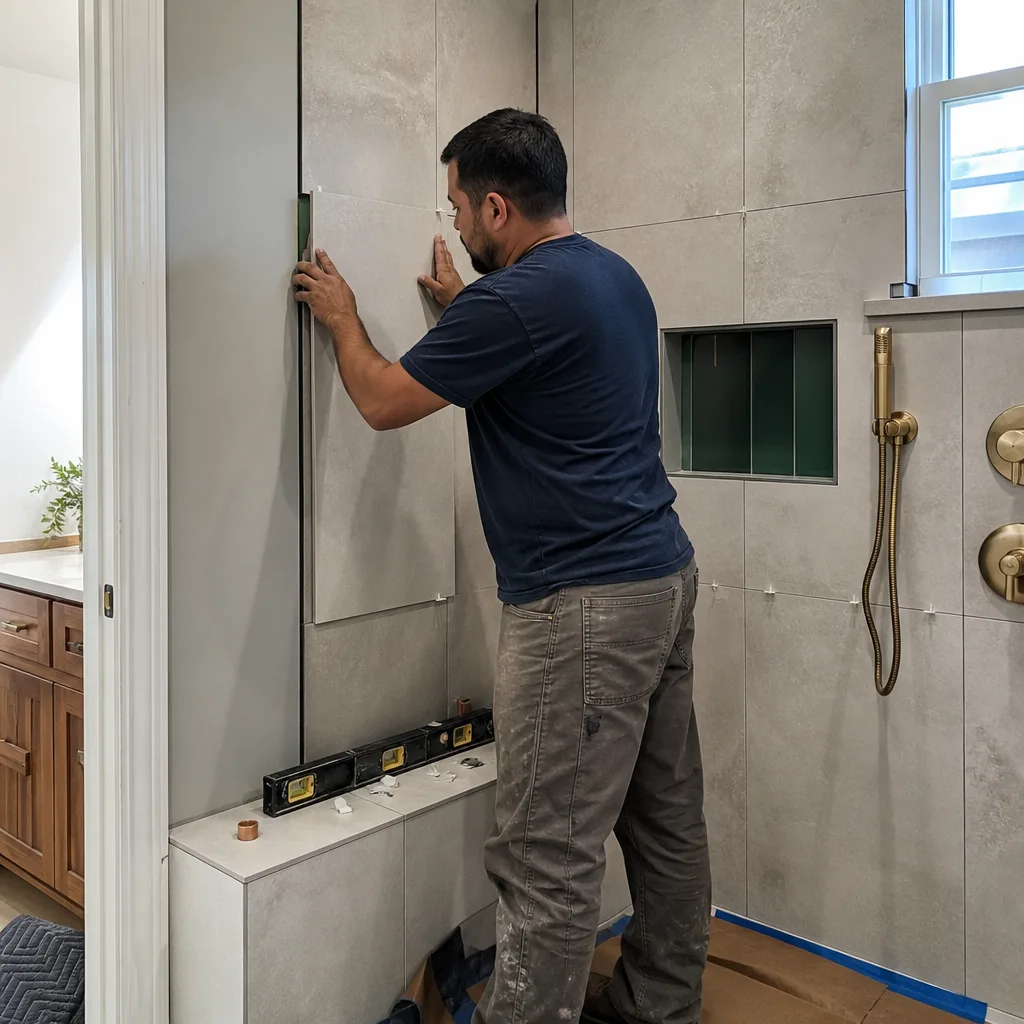
Call a professional when the symptom is behind a finished surface, when the fix touches the plumbing or electrical rough-in, or when the water source is unclear. Specifically: persistent moisture with no obvious source, cracked tile that re-cracks after grout repair, low pressure at any new fixture, any GFCI or exhaust fan concern, and any shower pan with water staining below it. Those are the cases where guessing costs more than a diagnosis.
Barrett & Sons Construction Sunrise Manor offers free estimates in Sunrise Manor. We’ll look at what you’re seeing, tell you whether it’s a surface fix or a wall-opening fix, and put every scope, every allowance, and every price change in writing before anybody lifts a tool. Call (844) 312-0069.
If you’re sorting through exterior storm damage at the same time (some of our Sunrise Manor clients see both after a spring wind event), the same upfront-pricing discipline applies on a fence installation in Sunrise Manor or a driveway and pavers project in Sunrise Manor. And if you’re pricing a bigger project at the same time, start with our Barrett & Sons Construction Sunrise Manor home page.
Frequently Asked Questions
Almost always a substrate problem, not a tile problem. The three main causes are a subfloor that deflects underfoot, cement backer board installed without mortar beneath it, and tile set too early over curing concrete. The hollow-sound test with a screwdriver handle tells you whether the tile has lost bond to the substrate; if it has, retiling without fixing the substrate repeats the failure.
Test the exhaust fan first, then look for water staining below the shower pan and check the wall-to-floor caulk line for repeated peeling in the same spot. A fan that won’t hold a tissue to the grille is underpowered and is often the whole story. Call (844) 312-0069 for a free estimate if the source isn’t obvious after those checks.
Not an emergency, but worth diagnosing before it becomes one. Most low-pressure calls are debris in a cartridge or aerator, a shutoff left partially closed, or a pressure-balance valve installed backward. None of those are emergencies, and the first two are checkable from the finished side of the fixture. The valve issue needs a licensed plumber, so call to have it looked at rather than opening the wall yourself.
Unprotected vanity and cabinet receptacles, and exhaust fans wired into the light circuit so they only run when the light is on. Both are common in bathrooms that were remodeled without a permit. Test every GFCI device monthly, and check that your exhaust fan has its own switch. An electrician can confirm the fix and sign off on it in the same visit.
Only if the scope changes, and only in writing. On every Barrett & Sons job, every scope, allowance, and price change arrives as a written change order before work happens. Repairs that turn into wall openings are the most common scope change on a bathroom troubleshooting call, so we always set the allowance in writing before we start.
Surface repairs (cartridge, aerator, GFCI replacement, caulk and grout) usually resolve in a single visit. Anything that opens a wall, replaces a shower pan, or re-sets tile is a multi-day job, and we’ll tell you the timeline in the written estimate before anyone starts. Every completed job comes with the 90-Day Done Right Promise in writing; if it’s not right, one call brings Tom back.
The Bottom Line

The most expensive bathroom problems are the ones you can’t see, and they’re not accidents; they’re the predictable result of work done in the wrong order or hidden behind a finished surface. Diagnose before you demo: tap tile for hollow spots, test your exhaust fan with a tissue, check the caulk line for repeat peeling, and confirm every GFCI in the room actually trips. When a problem points to the substrate, the shower pan, or the rough-in, hand it to a licensed plumber or electrician rather than opening the wall yourself. And when you’re choosing who does the work, insist on scope in writing, allowances in writing, change orders in writing, and permits pulled with inspections signed. That’s how a Sunrise Manor bathroom stops being a problem and starts being finished.
Written by the team at Barrett & Sons Construction Sunrise Manor.
Contact us for a free estimate at (844) 312-0069. Whether you’re troubleshooting a past remodel or planning a new bathroom from scratch, we’ll walk the room, tell you what we see, and put every scope, allowance, and price change in writing before anyone touches the job.